In my small city veggie patch, self-sufficiency is a pipedream.
There’s not the room to grow enough food to meet all my needs — nor do I have the time or energy for that mountain of work.
But a few years back, I thought it would be fun to experiment with one crop I could realistically be self-sufficient in: garlic. It stores well, it’s fairly compact and low maintenance to grow, and homegrown tastes so much better than store-bought jars of minced garlic.
So, in April 2020, I put my first cloves into the ground.
For my latest ABC Lifestyle story, I’ve shared all I learned over the next five years of trying — and often failing — to grow good garlic.
My top tips for growing your own garlic
Prepping your soil
- Choose a sunny spot in your garden, as garlic needs about six to eight hours of direct sunlight to thrive.
- Enrich your soil with plenty of organic fertiliser and compost before planting, as garlic is a heavy feeder.
- I plant about 30 bulbs, so I need about 2.5 square metres of garden bed space (4m long by 60cm wide).
Planting
- Plant your garlic around April or May; it needs about seven to nine months to grow, depending on the variety.
- Source locally adapted seed garlic, which often grows better in your specific climate and conditions. I get mine from local Fleurieu Peninsula or Adelaide Hills growers, though I’m hoping my homegrown cloves will soon be good enough to replant.
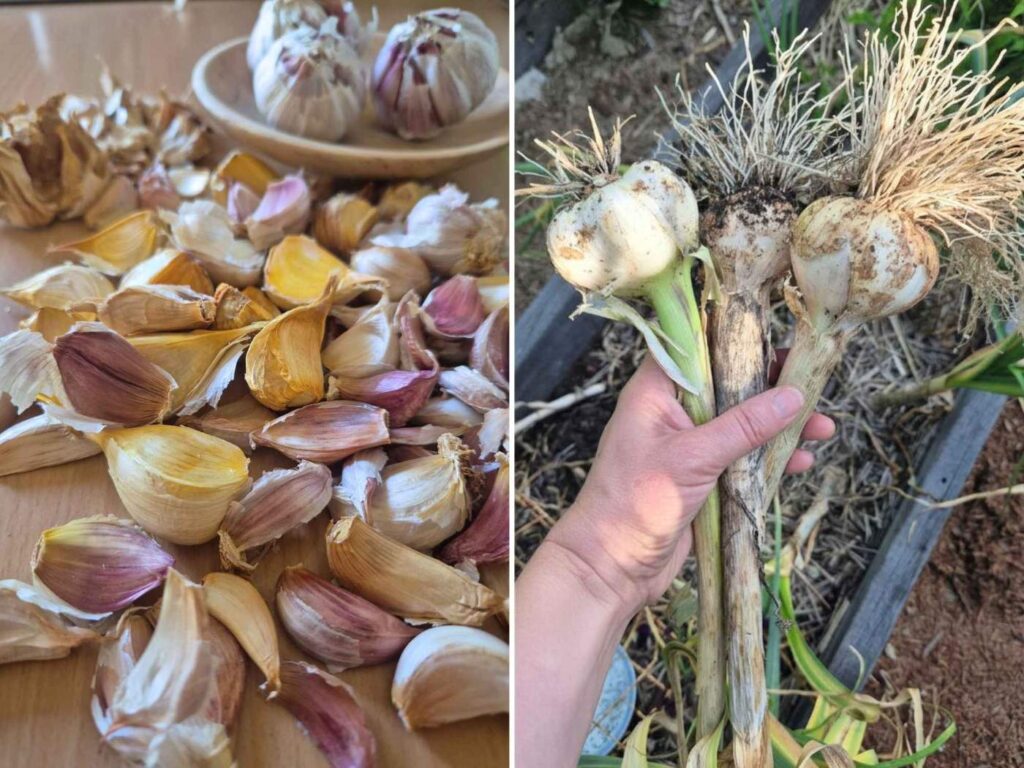
- Select only the largest cloves from each bulb to plant. Don’t bother planting the small ones; eat them instead.
- Pre-soak cloves overnight in a liquid fertiliser before planting to encourage stronger root growth. Seaweed solutions or biofertilisers work well; I use my own DIY fertiliser made from garden weeds soaked in rainwater for a month.
- Space cloves at least 15cm apart, or they’ll compete for nutrients, and plant with at least 5cm of soil on top — a stick marked at 5cm (a “dibber”) helps make the right depth holes.
- Mulch well (I use wheat straw or autumn leaves) as garlic hates competition from weeds.
Harvesting
- Wait until the first leaves start to dry off and topple over (around November/December); that’s a way garlic tells you it’s ready.
- After harvest, hang your garlic somewhere shady, dry and well-ventilated for at least a fortnight to harden the skins and seal the bulbs for storage. After this, they should keep well in a cool, dry place for a good six to nine months.
- Cloves freeze well in their skins, so this can be a good way to store them for even longer.
- Small cloves can be peeled and added to honey as a natural cold and flu remedy, or thrown skins-and-all into batches of homemade veggie stock.
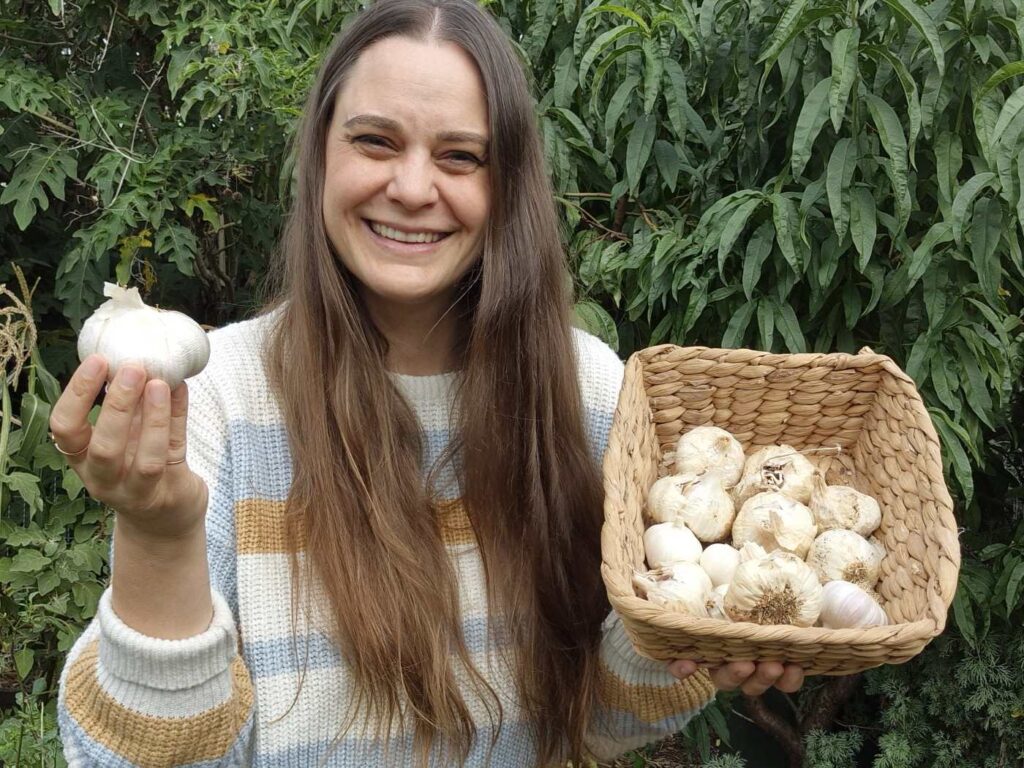
Why I love the slow journey of learning to grow garlic
Considering it’s taken five years and a lot of failure to reach my “self-sufficient in garlic” goal, you might wonder why I didn’t just give up.
But that gradual pace is what I love about gardening, the way plants teach you slowly across seasons and years — an antidote to our hectic modern world, where technology advances so fast it can feel hard to keep up.
In contrast, what I learn in the garden today will still apply tomorrow, and next year, and maybe even next century, for those who come after me. I find great comfort in that.
This story is part of a regular column I write for the ABC, one of Australia’s most-read news websites. You can browse my full story archive here.
Share this with your mates
About the Author: Koren Helbig

About the Author: Koren Helbig